
There are lots of ways to make recipe binders, but I'm going to show you how I made mine. I love to cook and bake and peruse cooking magazines and online cooking sites. Combining all of these things into an easy, accessible personal cookbook is fun for me and super helpful in the kitchen. I have two Recipe Binders - one for Cooking and one for Baking/Desserts. Here's what you need to make a binder:
- 3-Ring notebook (2 if you want to make a Cooking and a Baking/Desserts binder - I started with one and morphed into 2)
- Clear Plastic Sleeves - look at an office supply store or Costco and buy a big box of them - you'll save money in the long run
- Cute 12x12 inch scrapbook paper - I bought a food-related pack at Joanne's

- cardstock to back the labels for the subject dividers
- Paper cutter to cut down the scrapbook paper and to trim edges of recipes (if necessary)
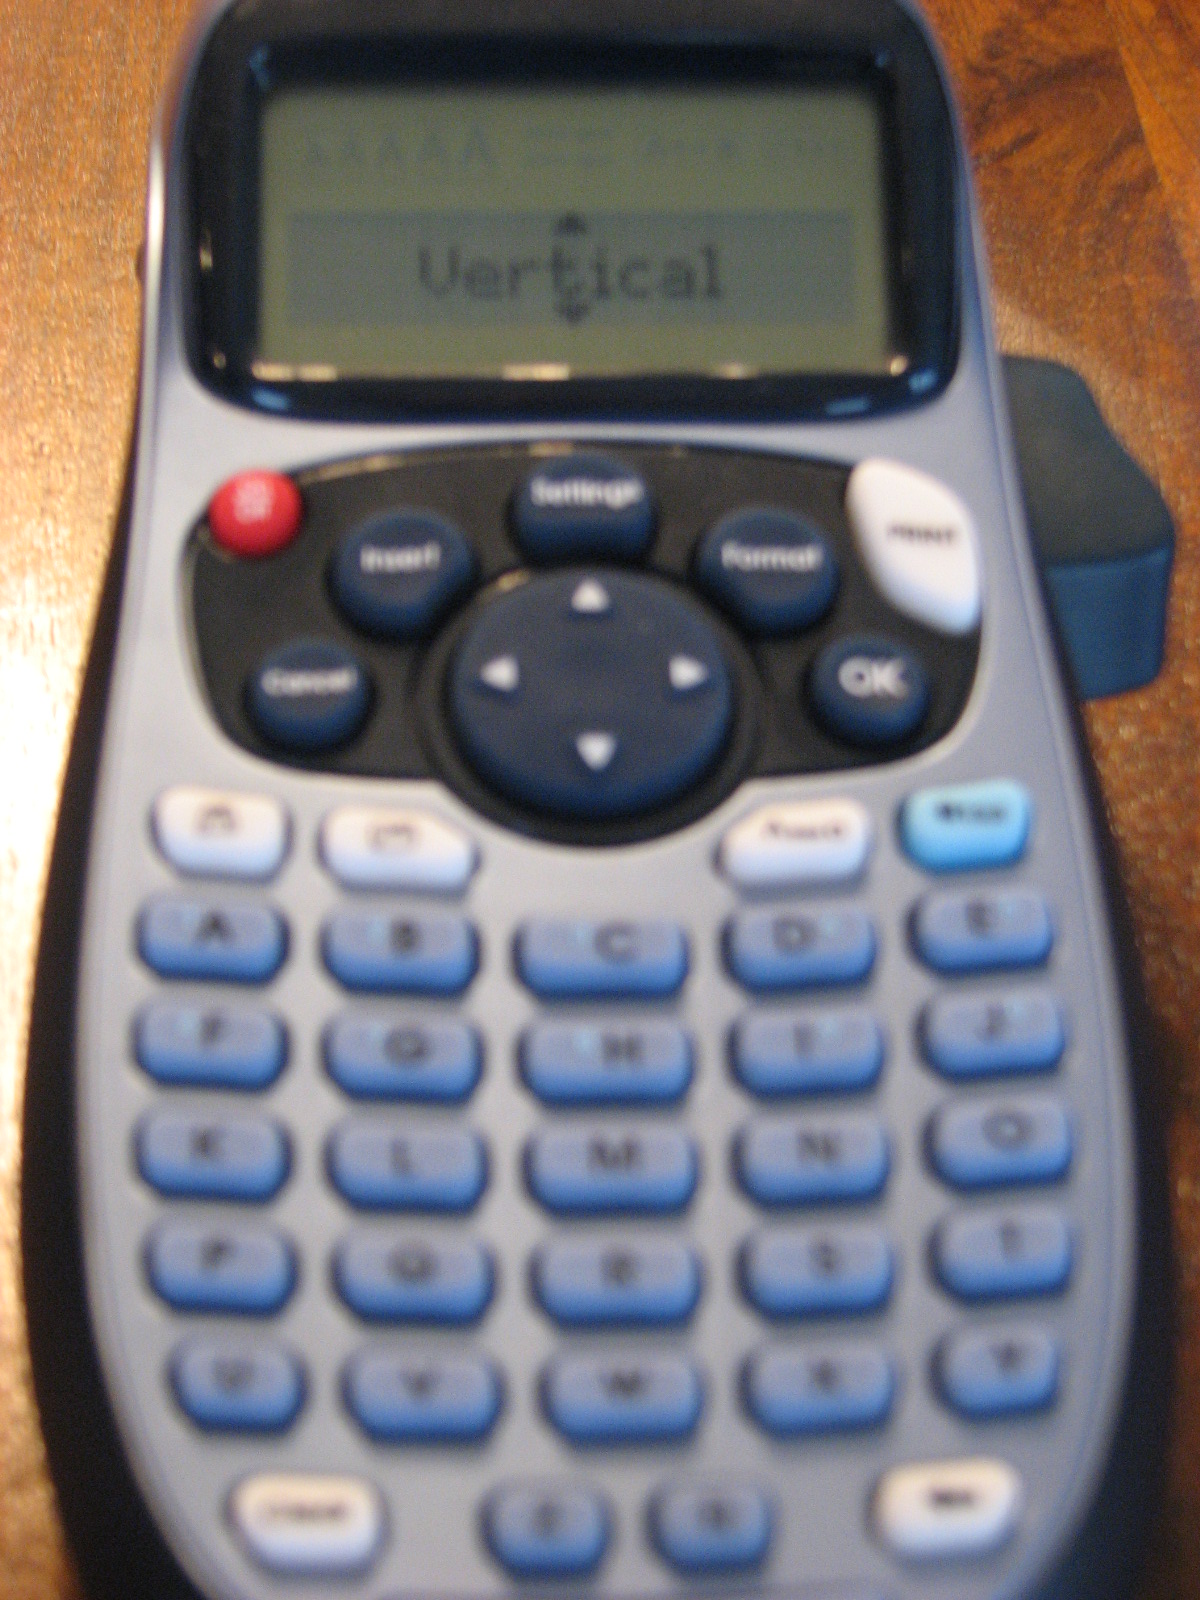
- label maker to make labels for subject dividers
- packing tape (I like the Scotch Tear-by-Hand packing tape)
Decide on what sections you want in your binder(s) . In my Cooking Binder I have - appetizers, salads, breads, vegetables, soups, pastas, pizzas, poutry, beef, holiday recipes, canning recipes. In my Baking/Dessert Binder I have - candies and snacks, cakes and frostings, desserts, pies and tarts, cookies and bars, holiday desserts, muffins and quick breads. Start pulling out favorite recipes from magazines, printing from websites, and copying favorite recipe cards. Maybe you have a stack already - here's a perfect way to organize them!
Cut scrapbook paper to fit the binder cover and page protectors for the different sections.


Using a label maker (you could also write these out or print from computer and cut to fit) print out different sections vertically.

Cut small strips of cardstock (3/4inch wide) and attach labels to cardstock - trim excess cardstock.

Place cardstock on packing tape and attach to page protectors.


Start organizing your recipes and start cooking!


I'm linking this up to some of my favorite parties this week, go check them out!
This is such a cute way to display recipes. I have used a large envelope (which is completely unorganized), an accordion folder, and online. None of these have worked for me. I am eager to put mine together!
ReplyDeletewww.becomingmaxonsmommy.blogspot.com
I love what you did for the tabs. So much cheaper and cuter than buying the ones in the stores.
ReplyDeleteThanks for sharing!
Cami
I just love it! I will put this on my list to do once life slows down. Last week we took all of our broken crayons and melted them in the muffin tin! Thanks for the idea, the kids had so much fun.
ReplyDeleteYou're a genius, what about to move to my home ;)
ReplyDeleteThank you for showing us how to do this! It's so inspiring and I can't wait to get started on mine!
ReplyDeleteGreat binders! I too have recipe binders, but yours are way cuter and I love how you made your own tabs...definitly going to spruce mine up a bit.
ReplyDeleteWow! That is the cutest coupon binder I've ever seen. Very inspiring. I need to get my piles of coupons under control!
ReplyDeleteStopping by with the UBP10 but I LOVE your ideas for a label machine. My family is going to think I love my labeler even more now!! Thanks for the great tips.
ReplyDeleteGwen
www.GetPaidAndGetFit.net
cute! I wish someone would make one for me or I found time to make one. I have some of those same papers, love them!
ReplyDeleteI'd love if you linked up to my Scrappy Saturdays!
Very cute. I love how it turned out. Thanks for sharing at 'Look at me, I'm SO Crafty!' at Fun to Craft!!
ReplyDeleteI love your blog, and you have already inspired me to start being creative again. And also get on top of my cleaning!!! I have 2 youngs girls, can totally realate to everything you post about. I love this project, have been googling all day to see if anyone in the US ships to NZ so i can purchase Nanas Kitchen Stack - an impossible task so far.. :-)
ReplyDeletei love your organization! i have a similar recipe binder, but your post just inspired me to actually make my labels and divider pages look cuter since i have some scrapbook paper like this, cause ya know, i just "need" another project, lol
ReplyDeleteYes! This is exactly what I need. You should see my recipe book. Well, it WAS a recipe book. Now it just a "file" with recipes folded and shoved inside (kind of like my address book!). Thanks! Love your site.
ReplyDeleteI love this!! I have a recipe binder as well but it does not look anywhere as nice as this...I can't wait to get to work on mine now :0)
ReplyDeleteThis is great! I just made mine. It's so perfect because all of my favorites will be right at my fingertips. I have a feeling I'll be donating lots of cookbooks that have been taking up 2 cabinets in my kitchen - all of which I haven't looked at in YEARS!
ReplyDeleteI just made my own recipe binder! Not totally cute yet but it works!
ReplyDeleteWhat kind of label maker is that?! I'm thinking about getting one...
ReplyDeleteSo how do you organize your recipes in the 12x12? Do you have one recipe per large page, or do you use divided page plastic covers with index cards? I love the idea..I have one similar but I am needing to make some updates and changes. Thanks!
ReplyDeleteHi Porters-
ReplyDeleteI just do one recipe per page - if it's a recipe card that I'm putting in, I copy it and put the whole page in the sleeve. The sleeves are 8.5x11.
That's it? I'd love to see the inside of the binder and what you did with it - how you organized the recipes, etc.
ReplyDeleteWell when I made binders, I started with one w/ lots of dividers, and it morphed into TWELVE binders with no dividers! Be warned, ladies--binders are a gateway drug!!
ReplyDeleteThanks for sharing how you made your recipe binder. I've featured your binder here: http://beanbugcrafts.blogspot.com/2012/03/menu-board-planning.html
ReplyDeleteThis is definitely going to be an upcoming project... I need this badly!!!
ReplyDeleteI am going to do this next week!! I was looking for a good way to compile all my favorite recopies to one place!
ReplyDeleteI would love to see some pix of the pages with the recipes on them. Is that possible? Great idea and is also helping with my idea for my photo album for my old dog I will soon lose. It helps with the grieving process. Thanks!
ReplyDeleteHow do you catagorize your recipes? Like if it has chicken and pasta does it go under a chicken tab or a pasta tab, so on and so forth? Suggestions?
ReplyDeleteIf it's pasta, it's always pasta -- meats (chicken, beef...) go under those sections.
Deletexo,
Becky
Hi Becky
ReplyDeleteI do something very similar, but you have taken it to the next level where I want to be. Great advice.
Jill :)
I have been looking for a way to organize my recipes. Do you have a system for meal planning? Do you pull each page out when you want to use it in the kitchen? Do you have a stand for your binder in the kitchen? Interested in how you make it work?
ReplyDeleteI do, it's in my shop:
Deletehttps://www.etsy.com/listing/77553436/the-menu-planning-kit-7-documents
I will be doing an update to this post in tbe next month where I'll answer all these types of questions - stay tuned!
xo, Becky
I did this about 10 years ago, not nearly as cute, but functional. My then jr high rebellious daughter couldn't be trusted home alone, so she went to work with me and spent most of the summer in a back office, sorting and placing in binders over 20 years worth of collected, clipped, and gifted recipes. We ended up with muliple notebooks, dividing into major categories, and then an odd one done by Holidays for themed ideas. She's married and a mother herself now....and for Christmas this year she made me a NEW binder just for Crockpot recipes...how's that for full-circle?
ReplyDeleteWhat size binder did you use? 1inch? 1 1/2 inch? 2 inch?
ReplyDeleteIt would have been great to see how you laid out a recipe on your pages. But I love the overall idea.
ReplyDelete